My 1976 Jeep CJ-5
Find me on JeepForum
Water Pump Removal
Of course, one thing I did was to simply add water rather than a 50/50 mix of water and anti-freeze. It's that anti-freeze that acts as a lubricant for the water pump. So I was probably just adding insult to growing injury. My bad, too lazy to do it properly and I knew I shouldn't be doing it the way I was.
The upshot was that my wife was at a drive-through and the Jeep began to over-heat and the radiator to overflow. Being smarter than your average bear, my wife shut it down and got two guys behind her to push her out of the drive-through before calling AAA for a tow home. Of course, I had to ask "Did you put the transfer case in neutral for the tow?" to which she responded "What's a transfer case?". Oh well, at least it was less than a mile...
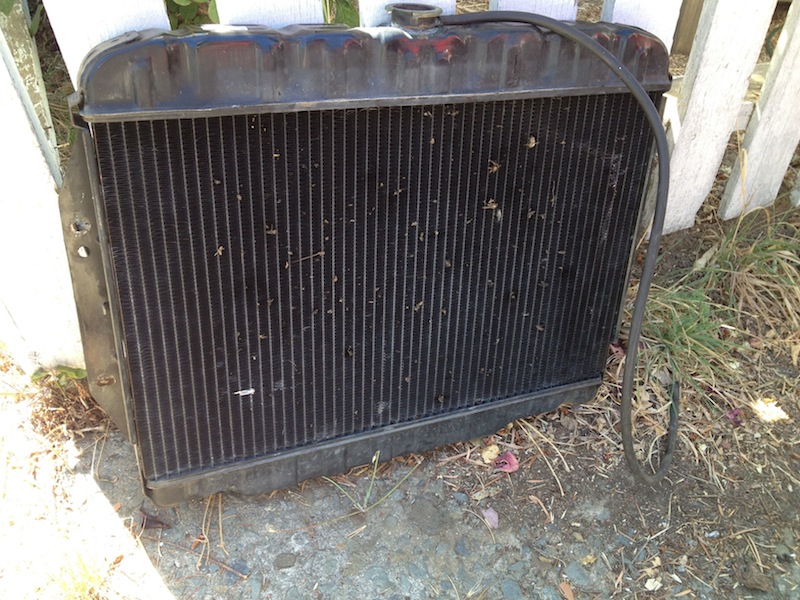
First order of business is to remove the radiator. Doing so just makes things so much simpler. And there's less chance of bending the radiator fins. It's only four bolts so I figure yer a chump if you don't pull it. So, drain that fluid via the petcock at the bottom of the radiator. Don't just dump that stuff—and absolutely make sure you don't leave it sitting around in whatever you drained it into. Dogs (and cats) love the smell and test of anti-freeze. And it'll kill 'em dead in no time. Be nice to your dog and dispose of the stuff properly, in a sealed container.
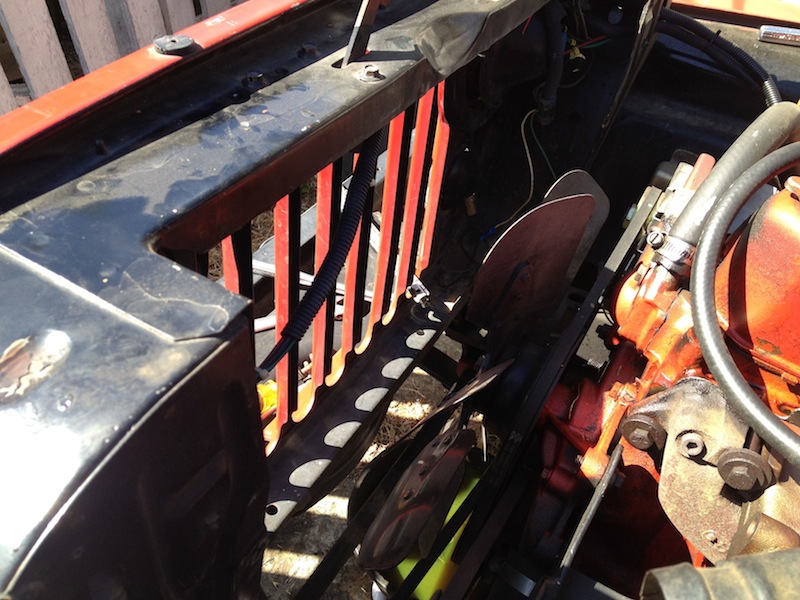
BTW, I found that when I'd removed the four bolts holding the radiator in I still couldn't easily lift it out. Turns out there are two bits of sheet metal on the front grill that were angled out just enough to bind the radiator when I lifted it. Fortunately, they are easily bent inwards about a quarter inch so the radiator clears them and lifts straight up and out.
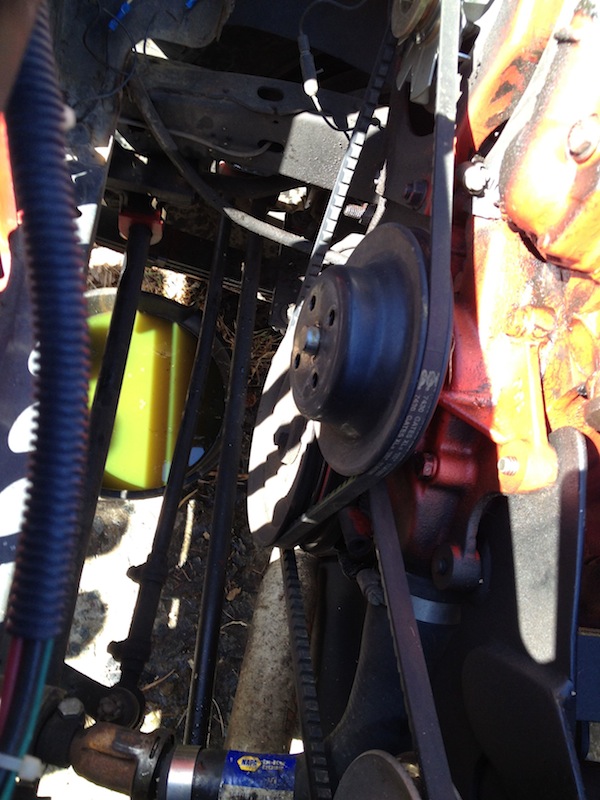
At this point it's time to add some slack to the alternator belt to remove it, then do the same to the power steering pump belt (and a/c if you happen to have it). Note: through all of this I'm assuming you don't have the serpentine belt setup that was common to California CJ's at this period. They used a different, reverse water pump setup that I don't have. See your shop manual and FSM for details on those types of installations.
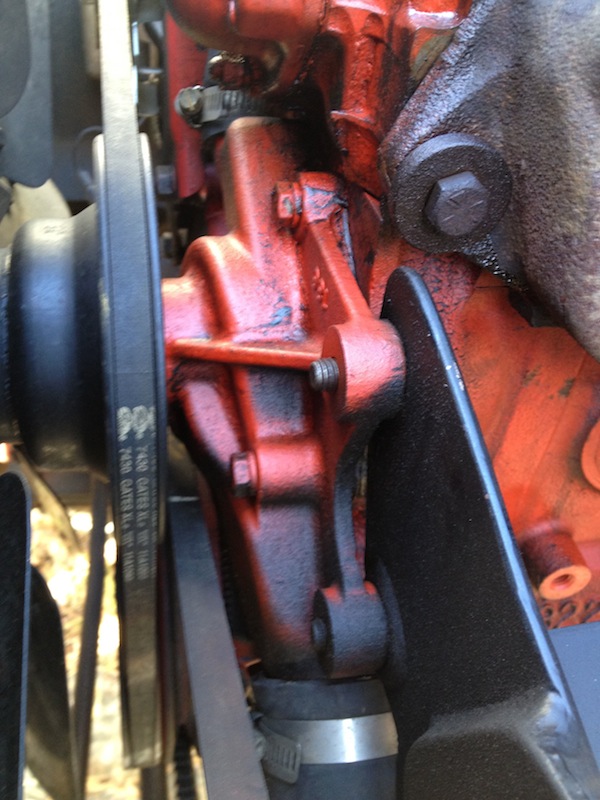
The power steering pump is mounted such that two of its bolts are through the water pump. So those come out next.
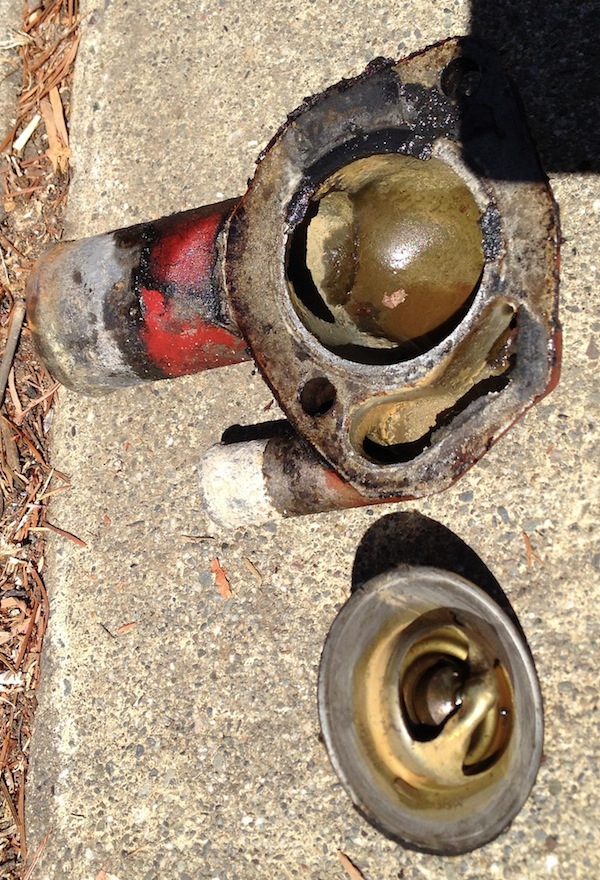
Since I had it apart I figured I'd replace the thermostat as well. So off comes the housing and out comes the 195 degree thermostat.
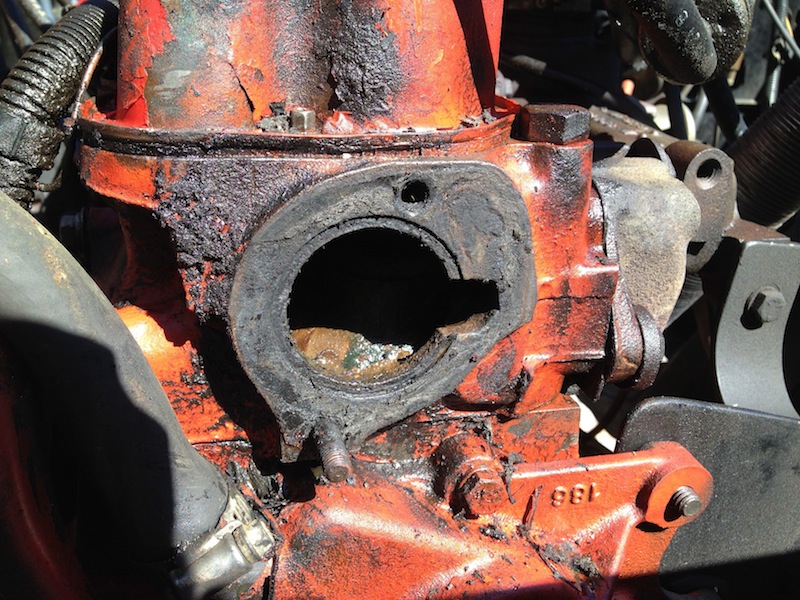
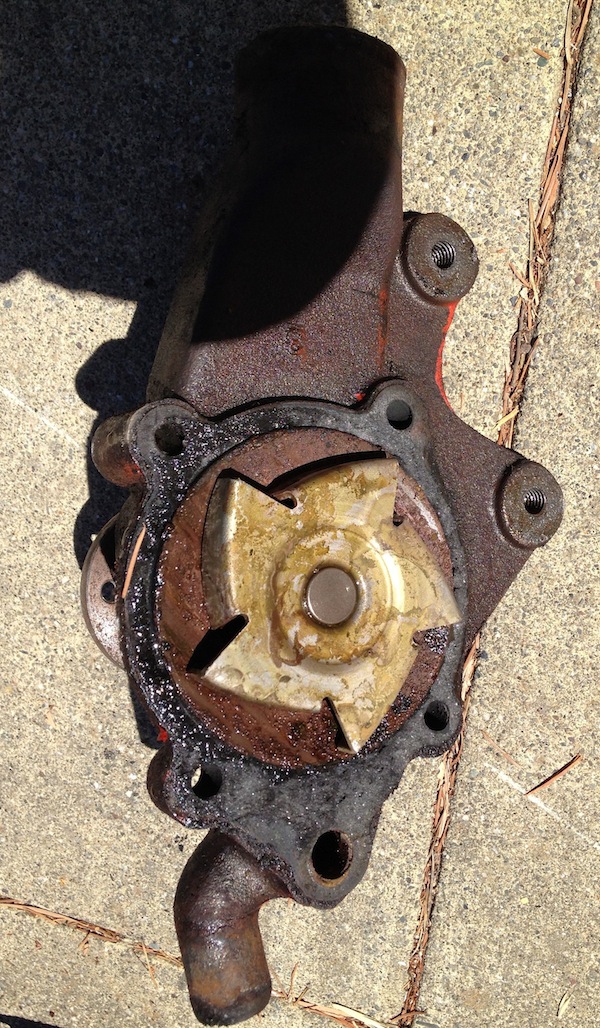
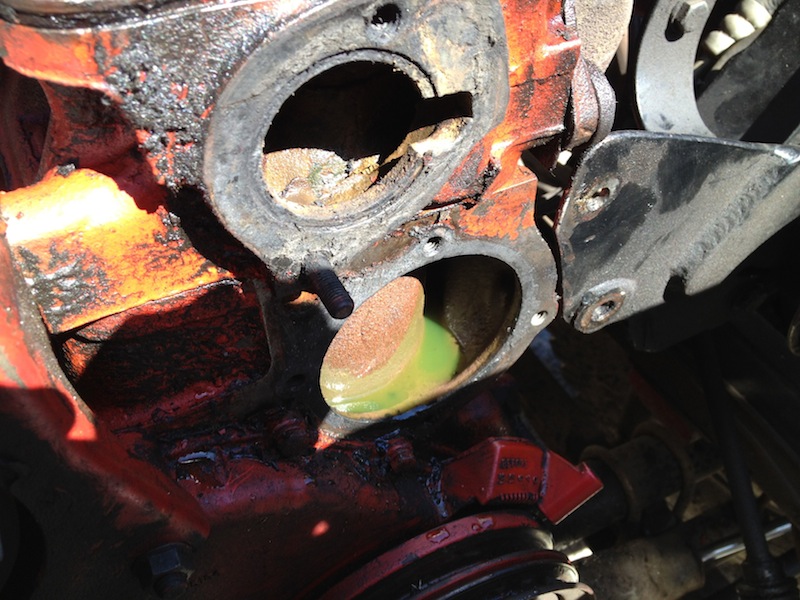
Finally, it's time to pull the water pump itself. Just four bolts (so far they've all been 1/2 inch bolts except for the power steering pump setup—which was added by a previous owner and isn't stock—which were 9/16's. Once all four bolts are removed a gentle whack with a rubber mallet broke it loose.
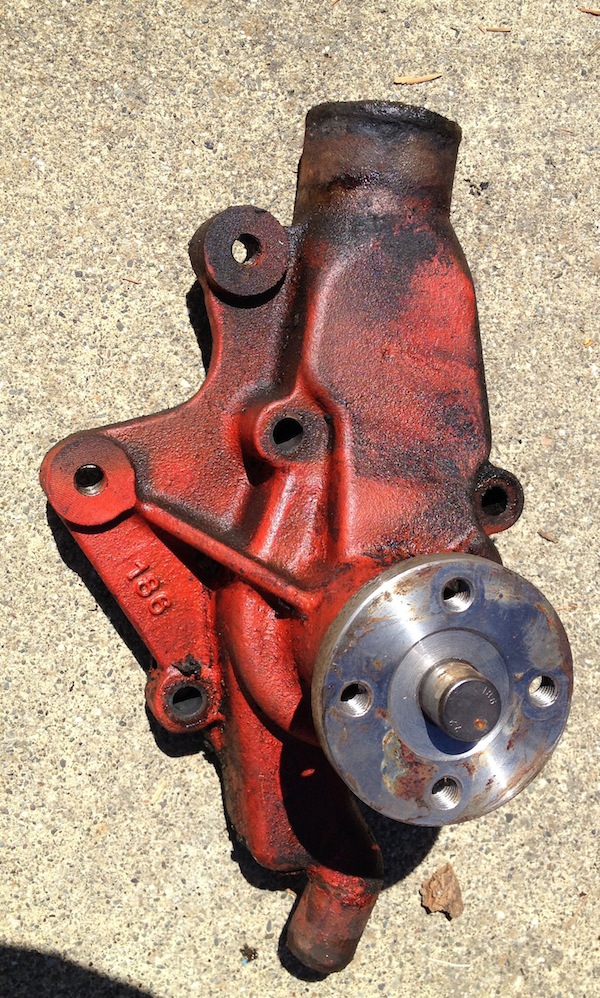
Here's the water pump front and back:
Here's the water pump front and back:
Water pump: 43000 (incl. gasket)
Thermostat: 269
Thermostat gasket: 1060-ST
Upper hose: 7473
Lower hose: 7344
So far, all the tools necessary are a 1/2" and 9/16" inch wrench (or socket) and a screw-driver to loosen the hose clamps. Easy as pie!