My 1976 Jeep CJ-5

Find me on JeepForum

Front Brakes

Stacks Image 66
My CJ has the optional front disk brake upgrade introduced in 1976. Normally changing brake pads would just be considered routine maintenance and I wouldn't create a dedicated project page for the process—but I thought it might be handy to do so as a guide for those trying it for the first time. The arrangement of the caliper and how it is mounted is a bit different (a bit more crude if you ask me) than most modern cars and you probably won't find a YouTube how-to specific to this particular set-up.

Once you've done it a time or two, and know the procedure, the whole process only takes 10 minutes per side (assuming things aren't seized up, rusted, or otherwise might require some work to disassemble).

I buy my pads from the local Napa, whole project costs about $25. It doesn't hurt to replace the brake fluid occasionally as well, but isn't required every time.

Stacks Image 67
Here's a shot of the assembled caliper (passenger side). Note that there are no bolts running through the mounting bracket and caliper top and bottom. Instead, the caliper is mounted via an upper lip under which the caliper fits and, below, a small metal fitting with a piece of spring steel is forced between the caliper and the bottom part of the mounting bracket. To keep the fitting from slipping out there's a hex-head (6mm on mine) screw that fits into the fitting.

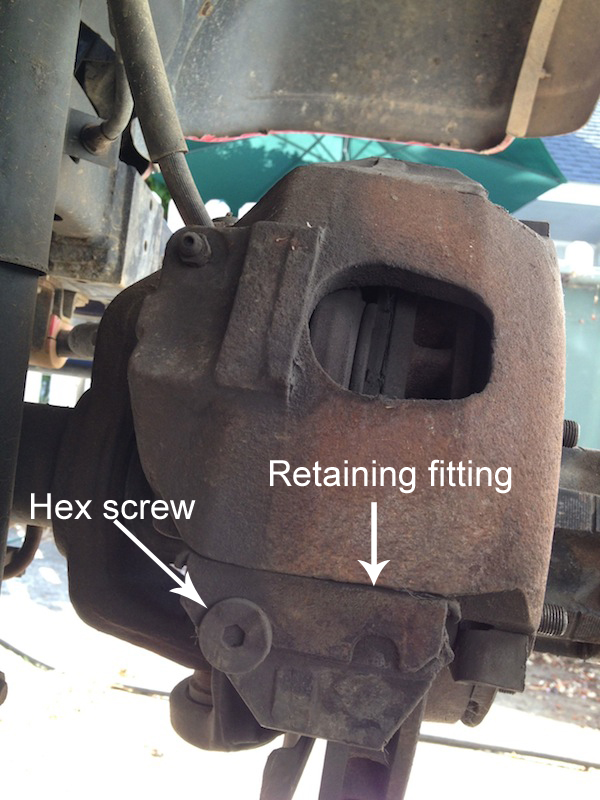
So, first order of business is to remove the hex-head screw. It'll need to come all the way out. Then, using a screw-driver or drift punch tap out the fitting and spring. This is done by pushing it out horizontally. I find it easiest to drive it in towards the center of the vehicle rather than trying to drive it outboards.

With the retaining fitting removed the caliper should be easy to pull off. Works best if you pull the upper part back, then lift the whole assembly away from the mounting bracket.

Stacks Image 68
Here's the caliper perched upside down on top of the rotor. Make sure you don't simply hang the caliper from the brake line—it's relatively heavy and the flexible bit of line is breakable, especially if it's old. The brake pads will pretty much just fall out when you pull the caliper. There are no retaining springs or anything. My FSM tells me there's a spring clip that holds the inner (piston-side) pad against the piston but mine doesn't actually have that.

The next step is to use a C-clamp to slowly and carefully compress the piston back into the caliper's cylinder to make room for the new pads. Without doing this you'll never get the thing back over the rotor. Before you start compressing the piston, remove the top from your master cylinder reservoir and maybe even siphon a bit of brake fluid out. As you compress the piston it'll push fluid back into the reservoir and possibly overflow. Brake fluid is nasty stuff—it'll strip the paint right off wherever it splashes if it's not removed right away.

Stacks Image 69
An issue you may face, which I certainly did, is that the pads may have worn all the way down to the rivets. When I replaced them they had only just started to squeak the way worn pads do—but they were clearly far past needing replacing and had worn grooves into the inner face of the rotor. My bad. Oh well, I'm not going to replace the rotors (and they are too far worn to machine smooth again). Just something to be aware of. My outer pads were in good shape so, clearly, the calipers don't float very well with this particular setup which would allow both inner and outer pads to wear evenly.

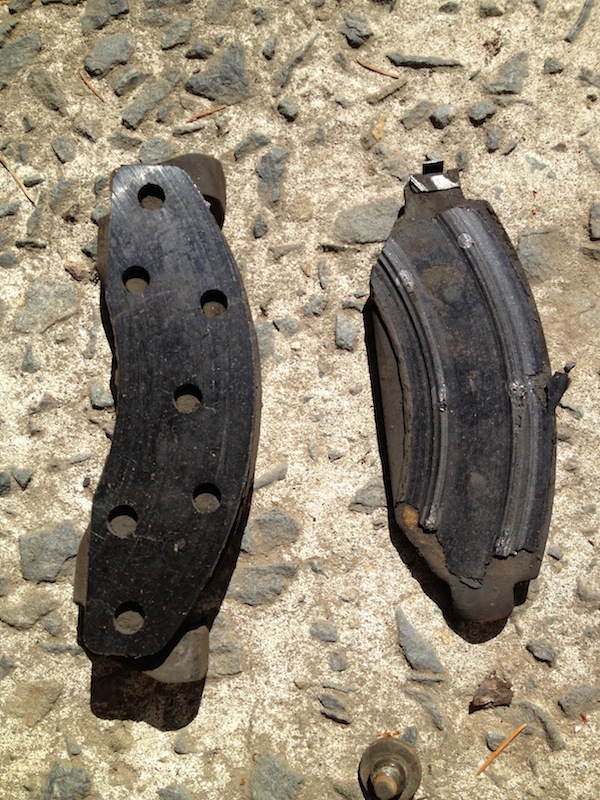
Below are shots of the inner and outer face of one of the rotors. Both rotors have the same wear pattern. Given that the disk conversion was done within the past 10,000 miles I'm wondering if the rotors and pads were taken from another vehicle as-is and installed? Seems like very low mileage to go through a set of brake pads! Lesson learned, I'll check mine on a regular basis...
Stacks Image 70
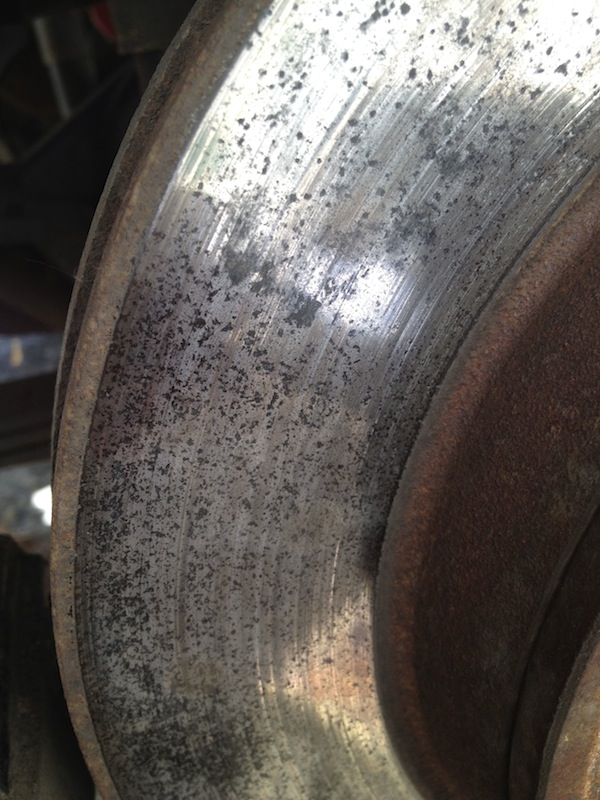
Outer side of the rotor—fairly normal.
Stacks Image 71
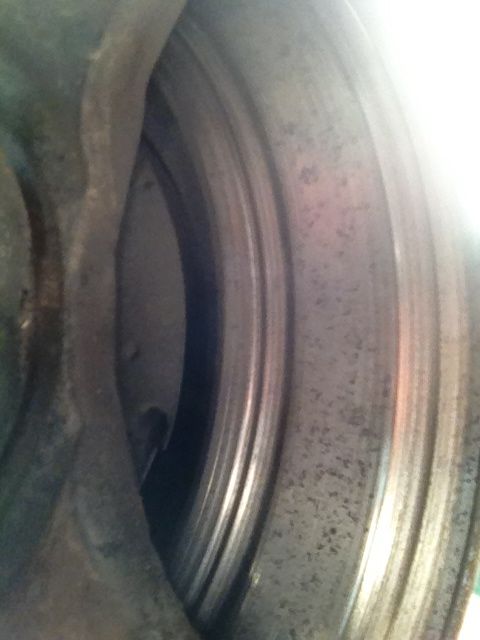
Inner side of the rotor—ouch!

Stacks Image 72

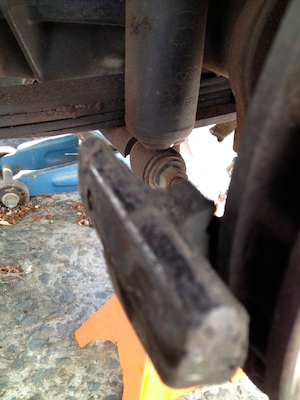
Bottom of mounting bracket (you can just make out the hole for the hex screw on the inner end)

Finally, when reassembling everything there's a trick to it that makes things go much more quickly—in fact, if you don't do this you may not be able to get things back together again. The trick is to place the new inner (piston-side) brake pad against the inner face of the rotor with its upper and lower tabs fitted against the mounting bracket. When you disassemble things initially you'll find a small spring clip attached to the inner pad. Keep this! In fact, as soon as you pull things apart, put this clip on the new pad oriented in the same way it was on the old one. This clip serves to put a bit of pressure on the pad when you place it against the rotor and the mounting bracket. That way it won't fall to the ground when you let go. All you'll need to do is use a finger or thumb to hold the outer pad in place against its mounting point on the caliper as you re-position the caliper on the bracket. I start it by setting it down against the lower end of the mounting bracket (ensuring that the piston and dust boot slip down past the edge of the inner pad) and then swinging it down so the top of the caliper can be pushed up under the upper mounting bracket lip. At this point simply re-insert the retaining fitting (with its spring piece) by driving it in between the caliper and the lower mounting bracket. You may have to fiddle with the caliper position to allow it to slide in without too much difficulty—just sort of shift things around a bit until you get it. Then just tap it all the way in and install the hex screw and you are finished! Don't forget to top off your brake fluid and replace the lid on the reservoir...