My 1976 Jeep CJ-5
Find me on JeepForum
On-Board Air
On of the projects I had always looked forward to—both for the utility of it, but also for the sheer fun of it—was the installation of an on-board air set-up. Having read about it forever on Jeepforum, Obi-Wan's Jeep pages, etc., I really wanted to do it. But finding the parts where I live can be a challenge. There aren't any pick-n-pulls nearby and I certainly couldn't afford to go the full Brad Kilby route (as nice as his package deals are). So this was always a back-burner sort of project. Then fortune stepped in...
While working at the stable where my daughter rides I happened to be moving a manure trailer made from an old pickup-truck bed. The trailer hadn't been moved or used in years. It had some utility boxes mounted on the tongue and I decided to look in them and what did I find but a York compressor, with mounting bracket, idler pulley and hoses! Score!!!
First order of business was determining if 1) the compressor compressed; and 2) if the electric clutch still worked. Turning over the shaft of the compressor indicated that there was compression and suction and grounding the compressor and applying 12 volts to the power lead confirmed the clutch. We were good to proceed!
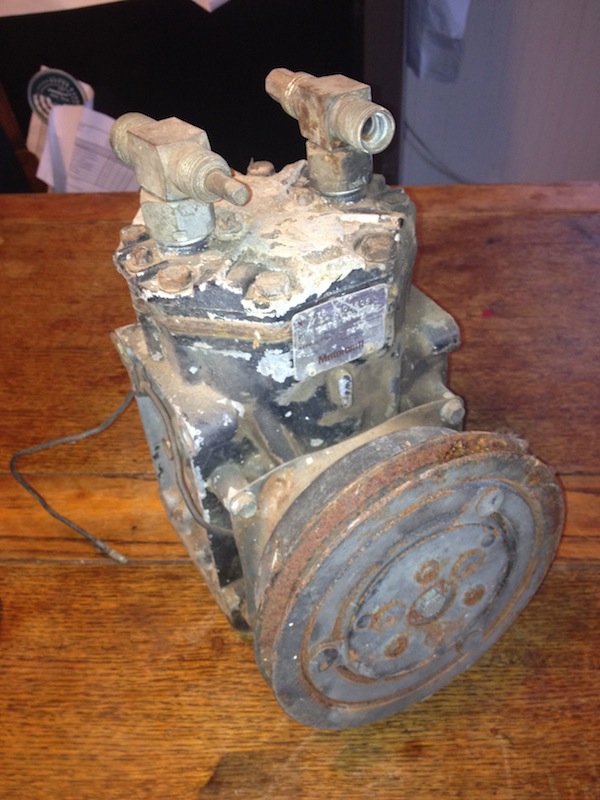
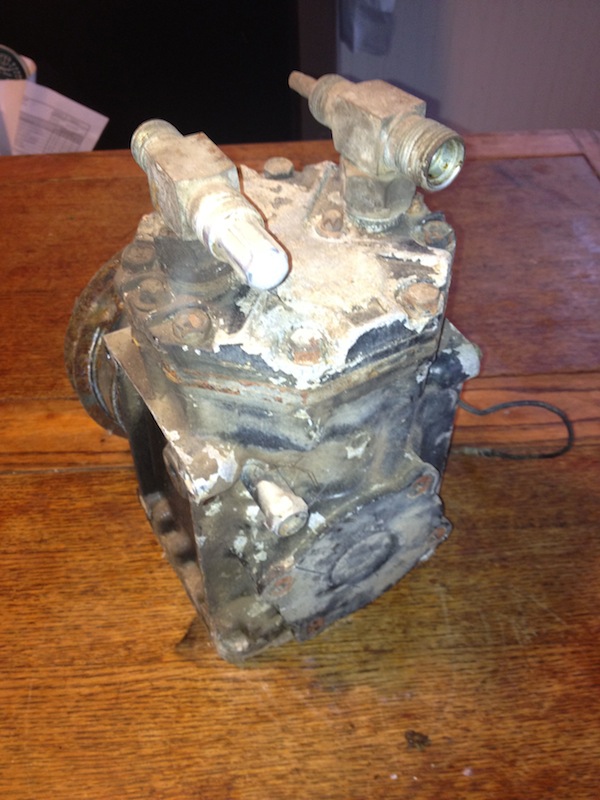
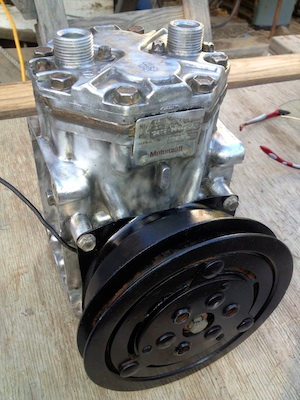
This thing was going to need some cleaning before I could do anything with it. Years of gunk, dried oil and pieces of mice (yes, pieces...) all over it. I also still didn't know what size compressor this was. I was of course hoping for the large capacity 210. So I had to pull the pulley and clutch mechanism to see the end of the driveshaft and also to get things clean.

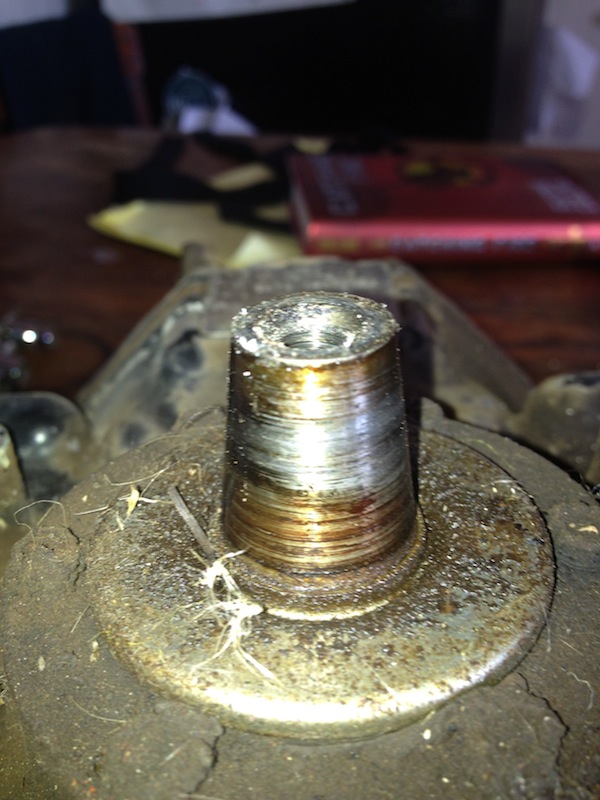
This tool would come in handy for the next step too: inserting a 2" 5/8" diameter bolt into the pulley and tightening with a wrench until it bottomed out against the driveshaft and popped the whole thing off. Again, easy as pie!

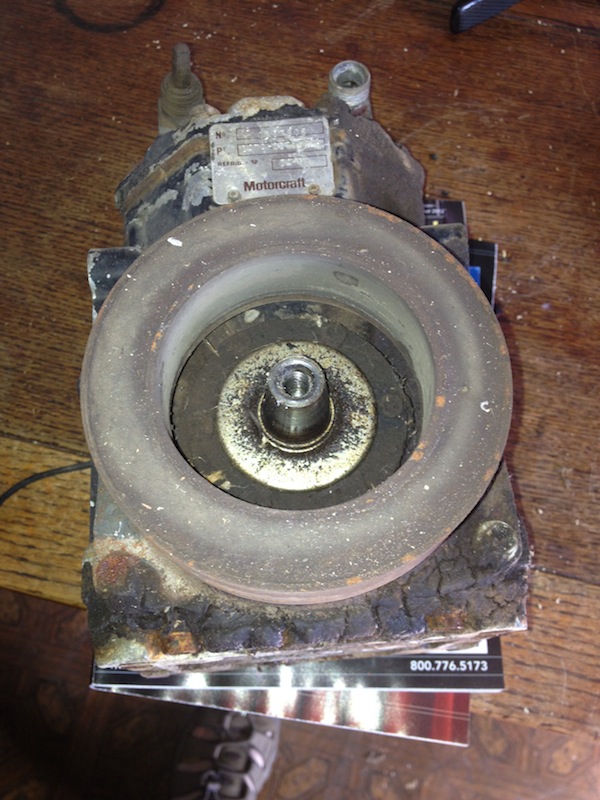
Removal of the magnet was simple. Just four retaining bolts and being careful about the power wire to ensure its clip to the compressor housing wasn't damaged. Hurray! Square edge on the driveshaft with no retaining clip ring—it's the more desirable 210!


I spent about an hour with my drill and a wire wheel stripping off the old paint and rust (after pulling the connectors from the top and plugging the inlets with some corks—see? I *knew* it was good to drink wine...
It was amazing how well the case cleaned up. I had to use some small brass wheels to get in the nooks and crannies. And I was careful around the bit of wiring on the electromagnet so as not to break it or break it loose from its soldered connection.
Once I had it clean to my satisfaction I painted the pulley and clutch mechanism (mostly steel and prone to rust more than the compressor itself which is mostly aluminum) and reassembled everything. The pulley bolt is torqued to 20–25 foot pounds as per the York manual. I had to use my shop-built oak tool to hold the pulley again while I torqued down the bolt.
So now I had the heart of the OBA system ready to go. Well, almost. First a general plan of attack and acquisition of necessary components. On to the next step!