My 1976 Jeep CJ-5
Find me on JeepForum
A New Clutch
Beginning a few months ago, I started noticing some problems shifting gears (particularly into first—which had never been easy without double-clutching—and reverse) and with tell-tale sounds coming from the throw-out bearing and pilot bushing. Eventually, it got to the point where shifting was nearly impossible—couldn't get it into gear, couldn't get it out of gear, grinding at every shift, creeping forward while the clutch was engaged, etc. I nursed it along, adjusting the clutch until there was no room left for more, sacrificing the throw-out bearing completely by riding the clutch to ease gear changes—anything I could do to postpone the inevitable. But the time had to come for a clutch replacement, and so it did.
Gathering up the tools, recruiting a neighbor to help with the heavy stuff, and taking a couple days off from work, I got to work. First order of business was ordering a new clutch kit from the local Napa Auto Parts. I called on a Friday afternoon and the kit was waiting for me at 8AM the next morning. $132 plus tax. I also bought a gallon of 90 weight GL4 gear oil (GL4, not GL5 which doesn't play well with some parts of the transmission), a little hand pump to get the oil in faster, and some stuff to help wash off the years of accumulated grease and crud on the transmission and transfer case.
Along the way, I took pictures to help document things. Some are a bit foggy because there was so much grease and dirt on my hands it got on the lens of the iPhone! My arms were, literally, black up to my elbows by the time I was done.
First order of business is to drop the skid plate which also acts as the cross-member supporting the transmission. It is attached to the frame by three bolts on either side. But first, one must disconnect the torque dampener that's also attached directly to the bottom of the transmission. Two bolts and one nut.
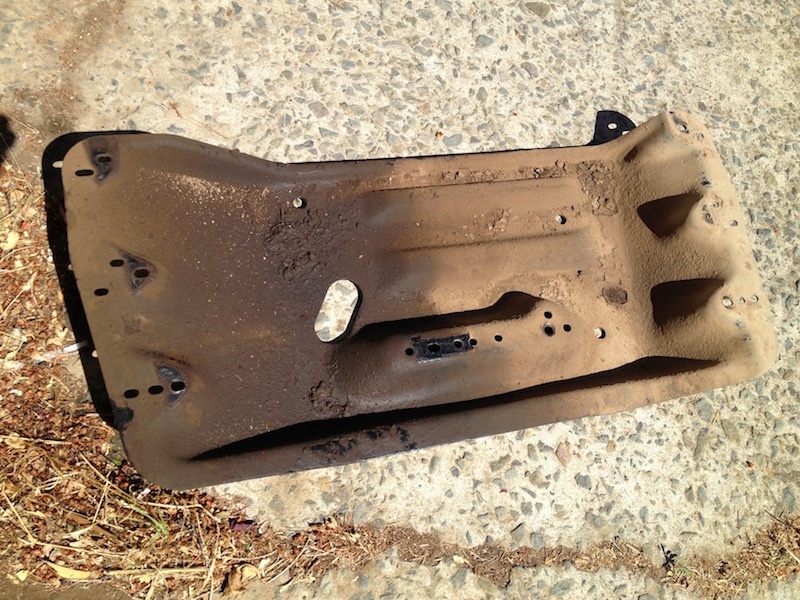
First, dropped the skid plate. Known in Jeeping circles as the "shovel" due to its propensity for picking up dirt. Mine was relatively clean! Weighs about 30 pounds.
Once you've got a jack-stand in place drop the skid plate. I find it easiest to do this by loosening one side and lowering it just a few inches onto another jack-stand. Then, loosen the other side and lower it to the ground. You can figure out the rest... The skid plate weighs about 30 pounds and it can hold a *lot* of old mud. So watch your fingers.

You'll also need to remove the starter. Now is a good time to disconnect your negative battery cable from your battery. Note that if you are *just* pulling the transmission and/or transfer case you don't need to remove the starter. Just if you are also pulling the bell-housing.
Disconnect the speedometer cable from the transfer case.
Remove the access plate from the floor of the tub, along with the boots around the transmission and transfer case shift levers.
You don't need to remove the transfer case shift lever at this point. Given that I was doing all of my work with the Jeep sitting on its wheels and not jacked up, I *did* need to remove it later in order to fit the transmission/transfer case assembly beneath the frame to get it out from beneath the vehicle (and, later, to get it back under).
(When replacing them while buttoning things up, I recommend a dab of grease to hold them in place. They won't really slide around much but better safe than sorry.)
Also note the transmission vent cap immediately behind the shift lever mount.
Now, drain the oil from your transmission and transfer case. There's not that much, and it doesn't weigh very much, but it's easier to drain into a pan while they are still mounted. Also note: if you have a T-150 attached to a Dana 20 like I do, you'll find that one of the lower bolts attaching the transfer case to the transmission actually runs into the transmission such that if there's any oil in it it will drain through the hole when you remove the bolt. Don't be surprised if this happens even if you've already drained the oil. There will still be *some* in there. Mostly, I suggest just dropping the two together as one unit.
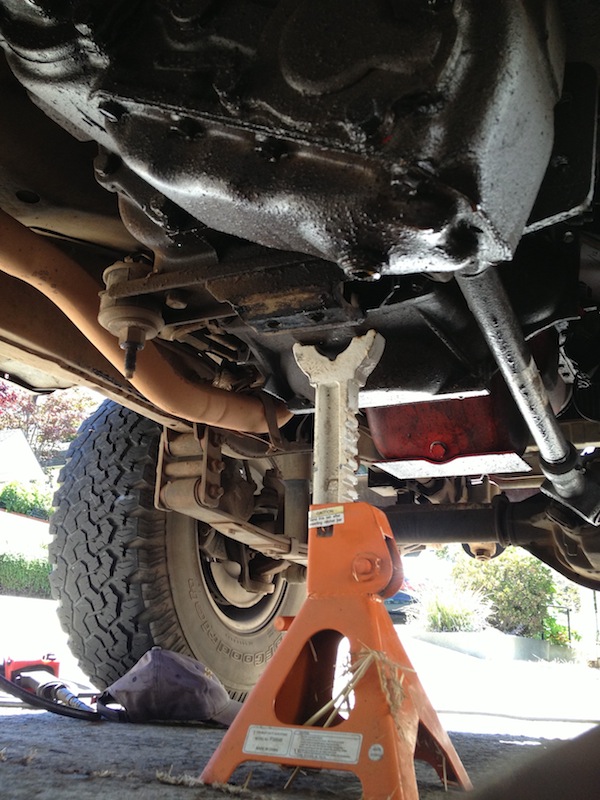
Time to drop the transmission and transfer case. Here's where a friend comes in handy. We quickly found that it was such a pain to separate the transfer case from the transmission while in-place that it was better to leave them connected and drop them both together. So that's what we did. Knowing we had about twice the weight to deal with, we decided to help ourselves by wrapping a strap around the transmission coming down through the floor of the tub and leading up and around a 2x4 laid length-wise from the base of the windshield back to the rear of the tub. Made lowering the two much easier and more controlled. The floor jack supported the pair at the transfer case and my wife used it to control moving the assembly backwards so the input shaft would clear the bell-housing. Then down they came...
Time to drop the transmission and transfer case. Here's where a friend comes in handy. We quickly found that it was such a pain to separate the transfer case from the transmission while in-place that it was better to leave them connected and drop them both together. So that's what we did. Knowing we had about twice the weight to deal with, we decided to help ourselves by wrapping a strap around the transmission coming down through the floor of the tub and leading up and around a 2x4 laid length-wise from the base of the windshield back to the rear of the tub. Made lowering the two much easier and more controlled. The floor jack supported the pair at the transfer case and my wife used it to control moving the assembly backwards so the input shaft would clear the bell-housing. Then down they came...
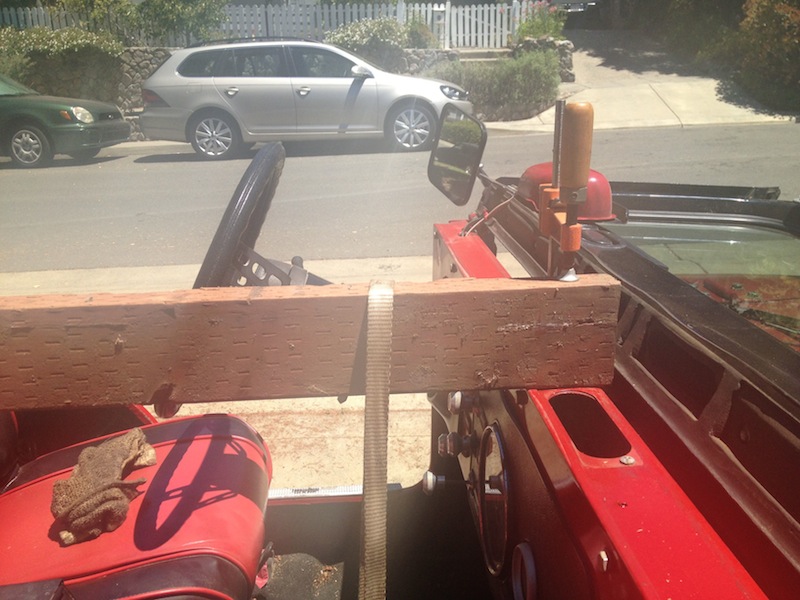

Once they were down, we shifted them both out of the way. Much easier to work on the bell-housing with them cleared away. Hint: to make it easier to maneuver the assembly, remove the torque-dampener from the bottom of the transmission before dropping them. I didn't and found that the one bolt that is part of the dampener acted as a sort of spear—sticking into everything we tried to move the assembly over, ground, cracks in the pavement, wagon I put 'em on to wash them, etc.
A future project will be to drill this hole out a bit and re-tap it for the next larger sized bolt. For this particular project, I torqued the others to the specified value and used extra thread-lock on the sketchy bolt. I don't to much rough off-road driving so think it'll survive to the next disassembly.
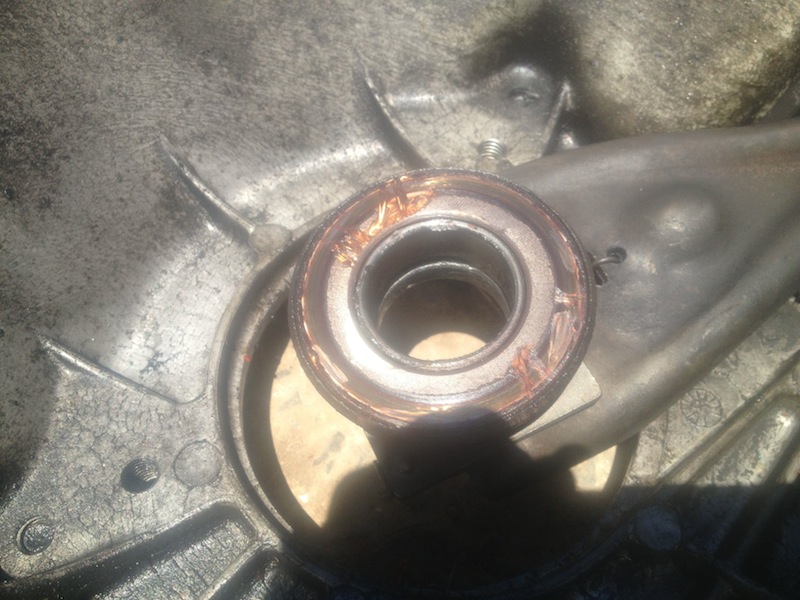
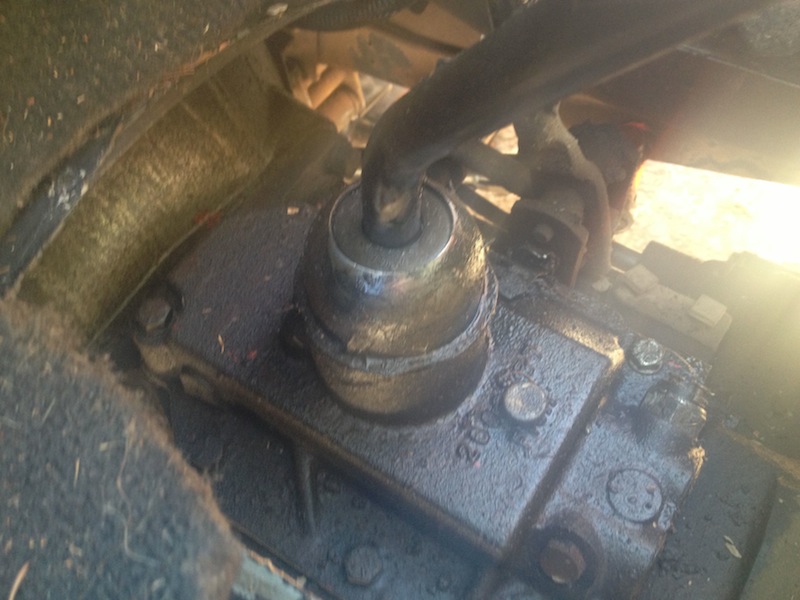
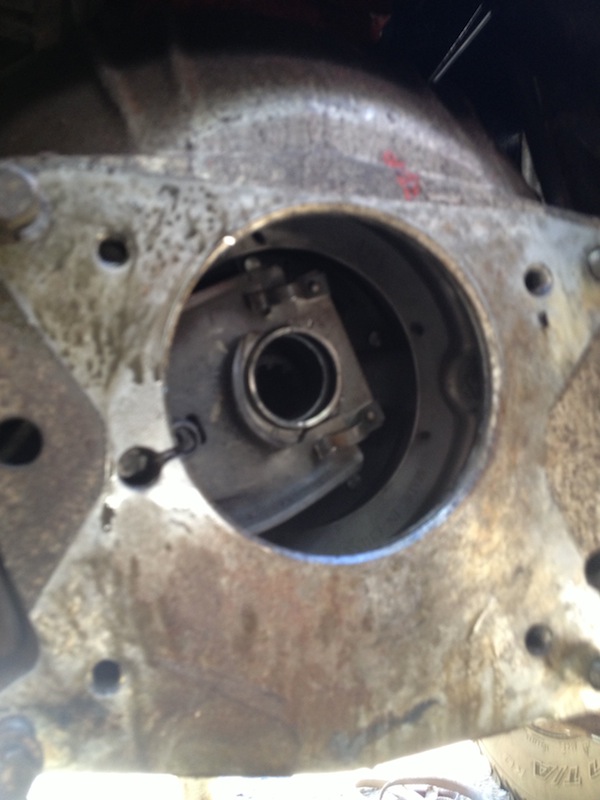
Perhaps this is the culprit? Look at the throw-out bearing. That ain't right.
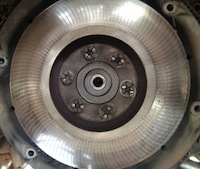
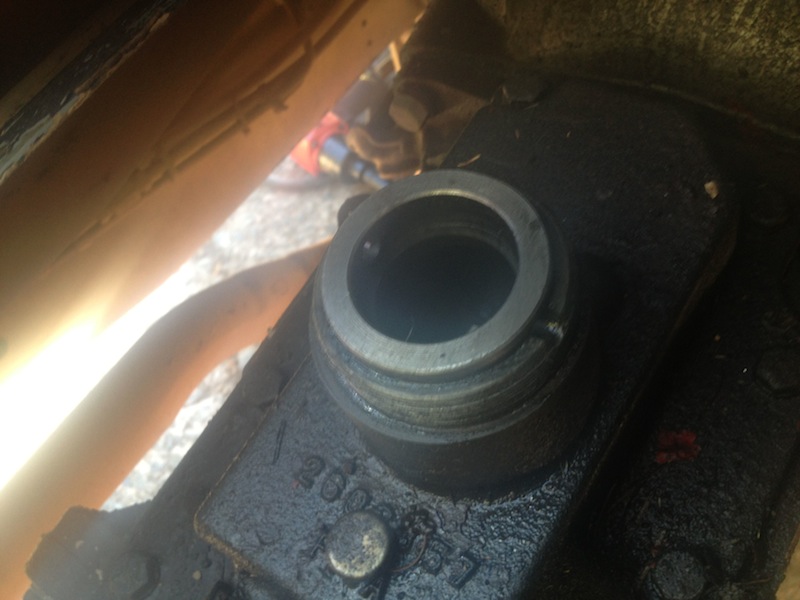
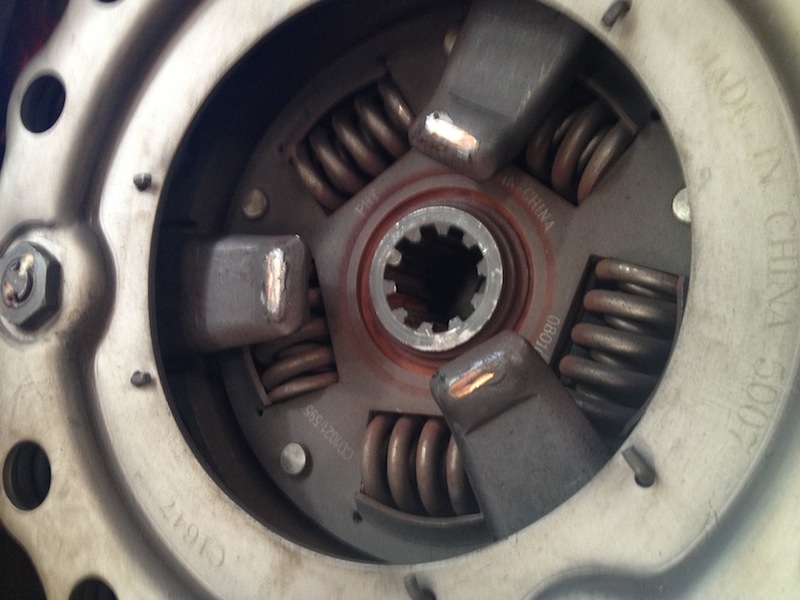
Here's the pilot bushing and the flywheel itself. Though there's dirt and driven-plate soot on the edge of the flywheel, it's in pretty good shape. All of the machine marks from it's manufacture or last surfacing are intact. Nothing burnt or unevenly worn. Once I clean it up, it'll look nearly new.
Next step is installing the new clutch—first, the new pilot bushing, then the driven plate and pressure plate. Then, the bell-housing with its shifting fork linking to the clutch pedal. Then, we'll hoist the tranny/transfer case up and "stab" it back in. That'll be the tricky part. Alignment is everything.
On to the new clutch installation...
On to the new clutch installation...