My 1976 Jeep CJ-5
Find me on JeepForum
On-Board Air - Module Three: The Manifold
The third module in the build is the manifold. It is here that air pressure is monitored, the safety pop-off valve is located, a tap is taken to feed the pressure gauge on the dashboard, and the pressure switch to turn the compressor on and off (via relay of course) is located.
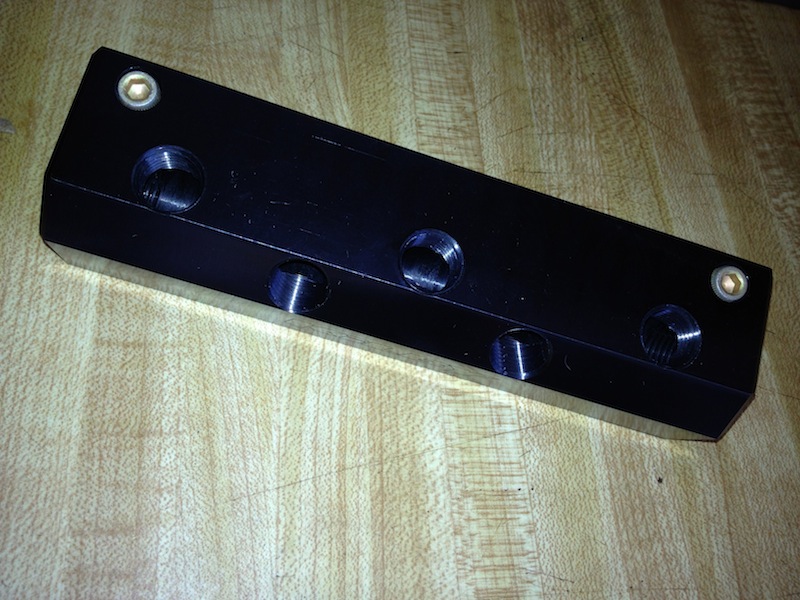
I opted for the very nice Kilby seven port machined aluminum manifold (they also make a five port version). It's reasonably priced and has both 3/8" and 1/4" ports. By the time I purchased all the tools necessary to make my one I'd have spent well over what Kilby charges so it seemed worth it.
I opted for the very nice Kilby seven port machined aluminum manifold (they also make a five port version). It's reasonably priced and has both 3/8" and 1/4" ports. By the time I purchased all the tools necessary to make my one I'd have spent well over what Kilby charges so it seemed worth it.
I began collecting the various bits and pieces, both from my local Ace hardware store and via Amazon. I bought a Viair fittings kit containing the pop-off valve, a drain cock (for the tank), a compression fitting for a 1/8" line to feed the dash-mounted gauge, and various plugs.
I also purchased (via Amazon—Amazon Prime == free shipping!) a simple 0–200 psi pressure gauge for about $5.
Next was a Viair pressure switch. This one turns on at 110 psi and off at 145 psi. One can find adjustable models if desired, and I may go for a higher maximum pressure at some point. But this will do for now. One caveat: I didn't read the fine print with this particular model carefully. It has a 1/8" male NPT connector. So I had to use a 1/8" female to 1/4" male adaptor to fit it to the manifold. No big deal, but not quite as clean as I'd like.
Here are the parts assembled:
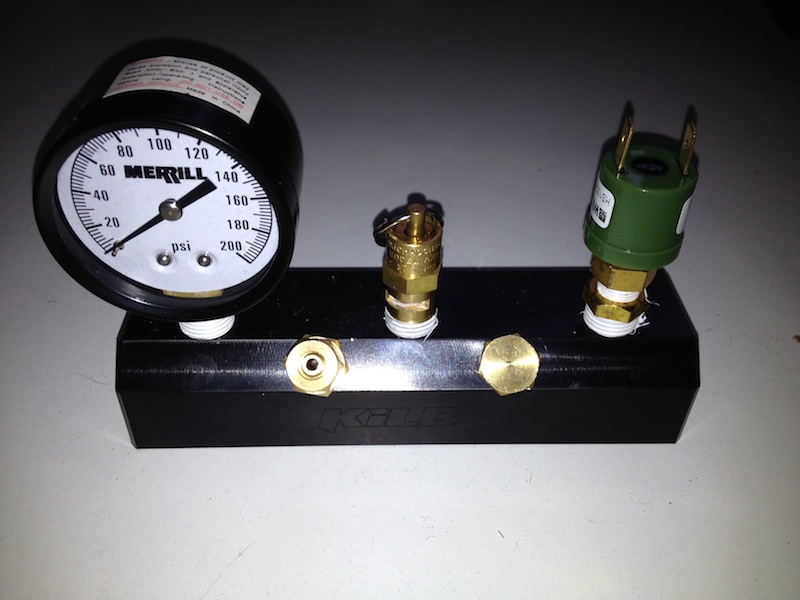
The manifold has three 3/8" ports—one at either end and one on the back (facing away in the picture above). The air will come in one end and go out the other to feed the tank(s). I'm not sure if I'll use the one on the back. But it's there as an option in the future.
Speaking of tanks, my mother sent me a nice Viair 200 psi 2.5 gallon tank (the 200 psi model is only $4 more than the 150 psi model, so why not? Plus, my pop-off valve is for 175 psi). Ultimately, I plan to have five gallons of storage, but this makes a great start! It's a very nice tank, well finished, with multilple 1/4" ports and mounting hardware. I'd prefer it to have at least two 3/8" ports as well, but one can't have everything. But at least I have a great mom!
The tank will mount beneath the Jeep on the passenger side, pretty much alongside the drive shaft.
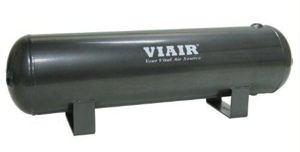
Mounted upside down, the tank will have the drain cock at the low end and barbed input and output fittings leading from the manifold and aft to the back of the Jeep. Maybe later it'll also feed into a second tank alongside.
Okay, Module Two coming soon!
But, because I was growing impatient, I mounted up the manifold and air tank anyway.