My 1976 Jeep CJ-5
Find me on JeepForum
A New Clutch - Installing the new one
Having taken a day or two off after removing everything due to bad weather, it was time to rebuild. First up—break open that new clutch kit from Napa! New clutch disk, new throw-out bearing, new pilot bushing and, perhaps most important for this particular project, new pressure plate. Given the state of the old throw-out bearing, and the fact that I'd gone through all of the adjustability there was and still couldn't get the clutch to disengage entirely, it was becoming clear that the old pressure plate was shot.
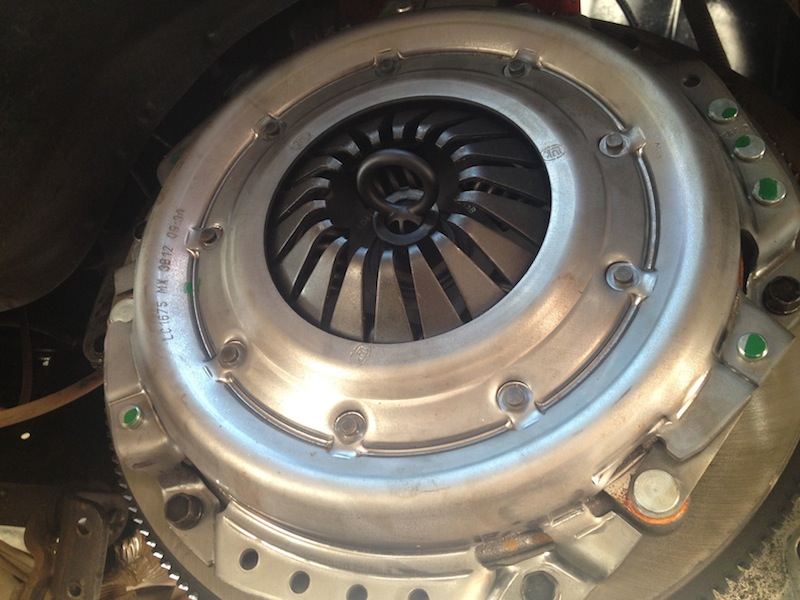
Notice the old Borg and Beck three-finger plate I removed. These tend to be used more for high-rpm engines and are often considered more heavy-duty. The new Rockford diaphragm-type plate uses a single piece of stamped steel to act as the spring. At very high rpms this can tend to distort and disengage the clutch on its own. On my 258, which rarely sees even 3000 rpm, I don't think there's a need for the heavy-duty type of plate. Plus, the diaphragm-type gives much lighter pedal pressure so my left leg won't be so over-developed anymore! Makes it hard to walk in a straight line...
Notice the old Borg and Beck three-finger plate I removed. These tend to be used more for high-rpm engines and are often considered more heavy-duty. The new Rockford diaphragm-type plate uses a single piece of stamped steel to act as the spring. At very high rpms this can tend to distort and disengage the clutch on its own. On my 258, which rarely sees even 3000 rpm, I don't think there's a need for the heavy-duty type of plate. Plus, the diaphragm-type gives much lighter pedal pressure so my left leg won't be so over-developed anymore! Makes it hard to walk in a straight line...

Old, Borg & Beck three-finger; new Rockford diaphragm. Shiny!

There's a shop about five minutes from my house here that'll resurface flywheels while you wait. So, next time...

Hint: before putting everything together, ensure that your new pilot bushing actually fits your transmission input shaft. One wouldn't want to get it all installed and try to mount the transmission only to find, after hours of swearing, that the input shaft will never go in because the bushing is too small...
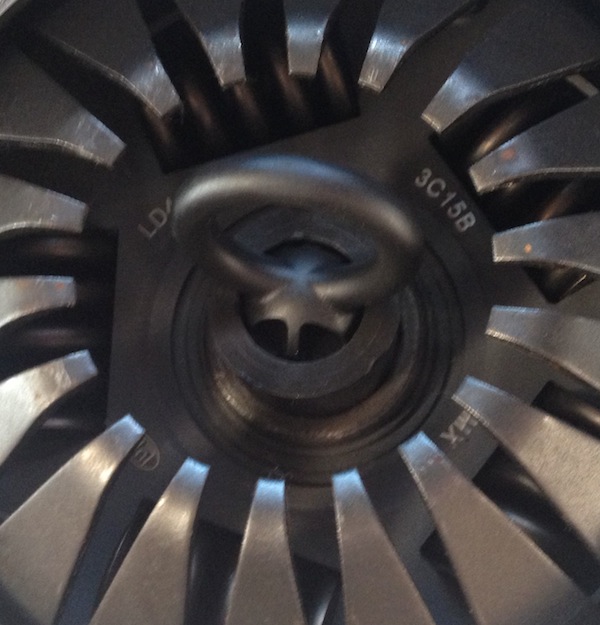
Also very important! As you first get the pressure plate mounted—before you torque things down—use the alignment tool to ensure the disk is perfectly centered beneath the pressure plate. You can feel around the edges to get a good idea of the disk location but the best way is to regularly work the alignment tool in and out a bit to be sure it is not catching on the outer edge of the pilot bushing. It should easily and smoothly slide in all the way. Do this every few turns of the mounting bolts as you turn them. Once things are to the point where you are ready to use the torque wrench the alignment tool should still be easy to move in and out.

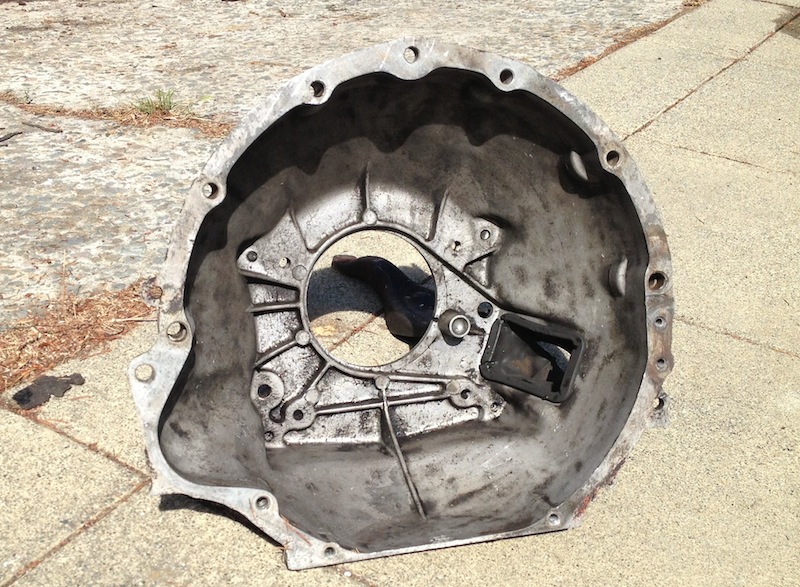
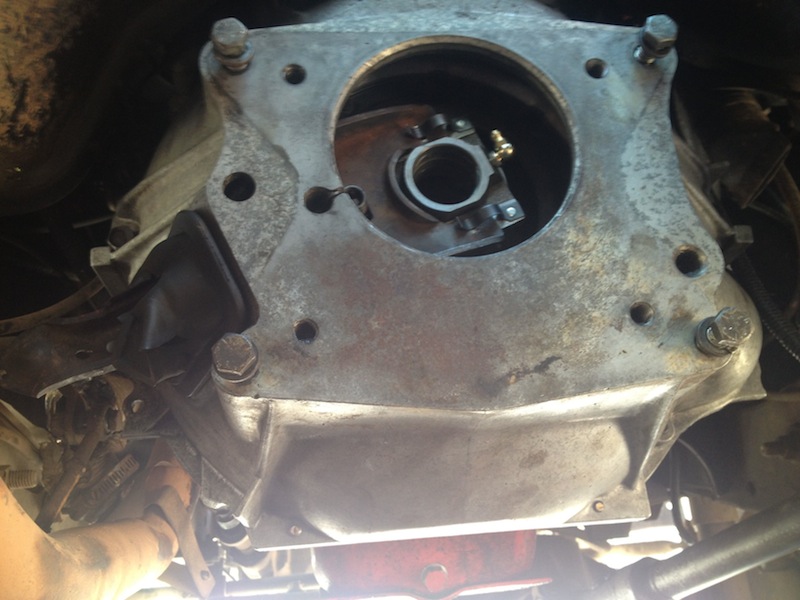
At this point I took a break from beneath the Jeep and broke out the pressure washer to clean the bell-housing, the skid plate, and the transmission/transfer case assembly. Much more pleasant to work with them when they aren't caked in crud...
One thing I wish I'd ordered was a new boot for the hole where the throw-out bearing fork comes in at the side. Mine is pretty beat up.
Also take a moment to make sure the mating surface between the housing and the engine is clean and smooth. Any crud here will cause a slight misalignment which will be compounded the further back you go in the drivetrain. Scrub the mating surface between the housing and the transmission as well.
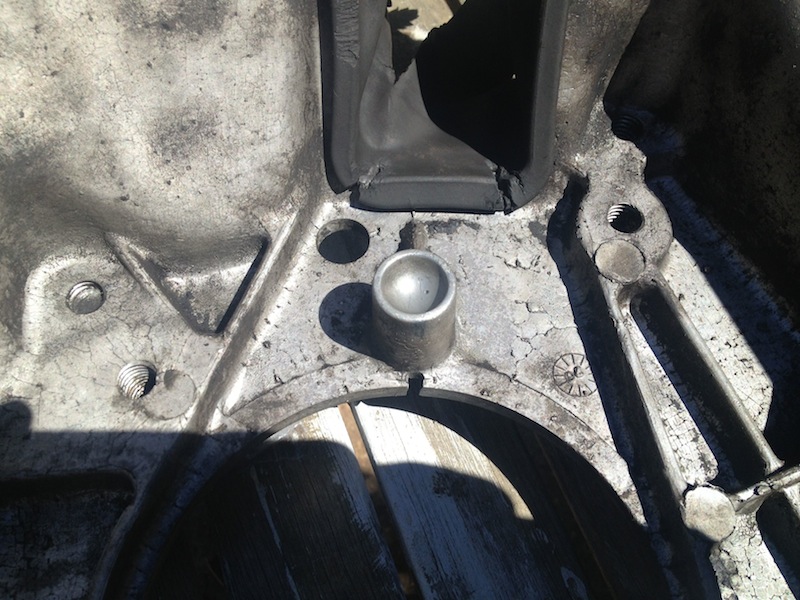
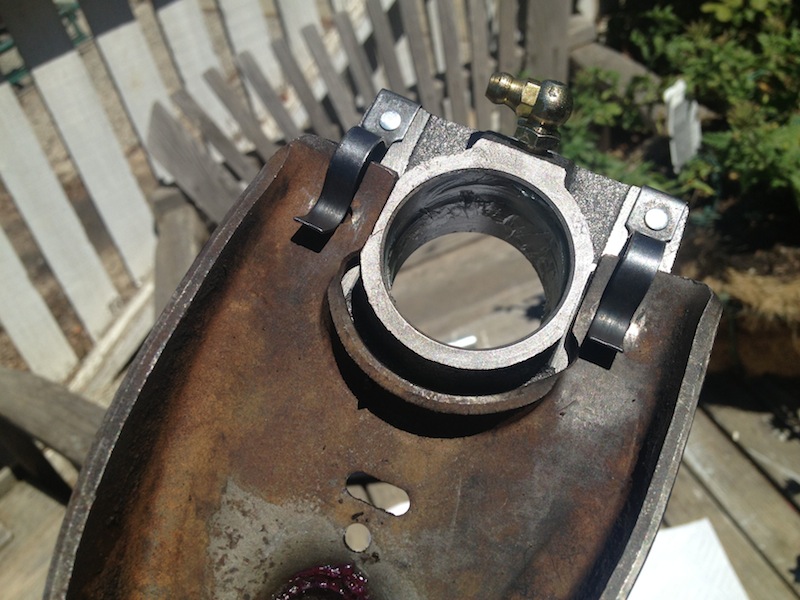
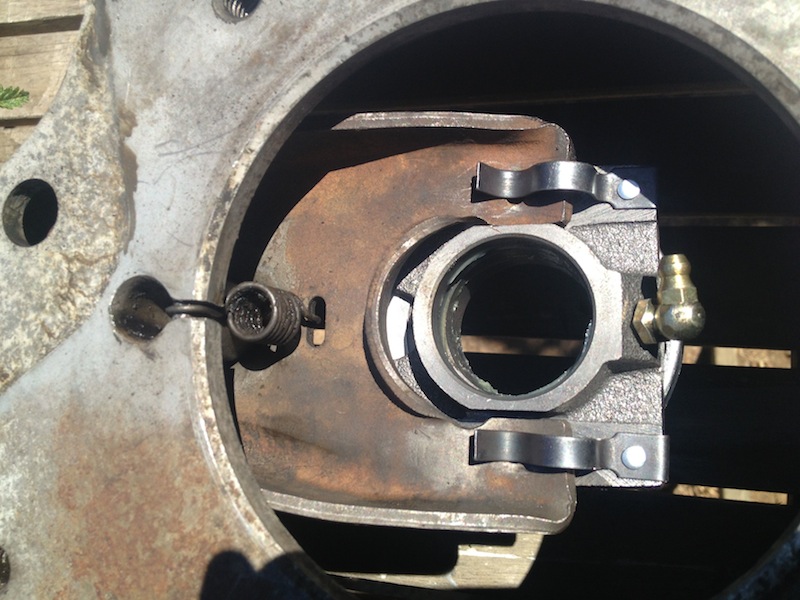
To get that good, new-car smooth shifting—and to help hold things together—make sure the mounting cup for the steel ball is clean, has a dab of grease in it (not too much) and that the ball itself has a bit of grease on it. Then, also put a dab of grease on the fork in the detent where it'll pivot on the ball.


Now is the time to mount the new throw-out bearing to the fork. It is probably already pre-lubricated from the factory so there's little you'll need to do beyond snapping it into place. If it is *not* pre-lubed you'll want to apply a film of grease to the inside where it'll ride on the sleeve over the input shaft of the transmission, and a light film to the face that'll come in contact with the diaphragm spring on the pressure place. But, mostly, they are all ready to go from the factory.
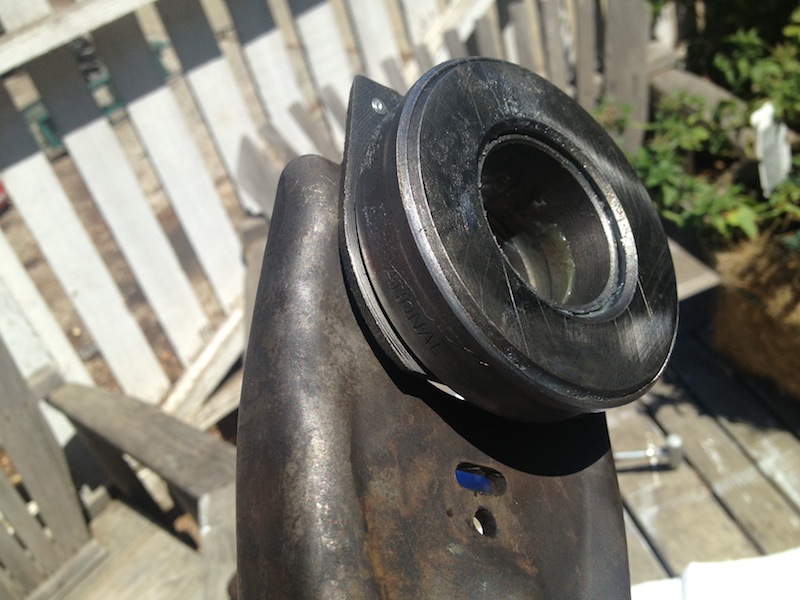

In this picture you see the clutch pedal linkage bolted up to the bell-housing. Now is a good time to grease the linkage. Mine had a zerk on it—but it was old and it broke off when I removed my grease gun. Grrrr...
I also took this opportunity to disassemble and clean the connecting/adjusting rod that runs between the throw-out fork and the rest of the linkage. The adjusting threads were so full of dirt, oil and crud that it was difficult to turn the end to increase or decrease its length.
At this point you are ready to reinstall the transmission and transfer case. I won't show pictures of that since it's simply a reverse of the removal. I will note that I found it much easier to reinstall them using a transmission jack. This allows one to get things up and aligned much more easily than with a regular floor jack. The biggest challenge is getting the transmission input shaft aligned once it's into the throw-out bearing. It helps to apply a light coat of grease to the end of the input shaft (where it will slide into the pilot bushing), along the sleeve the throw-out bearing will ride upon, and along the edge of the seal that will made with the edge of the large opening in the bell-housing.
It is also helpful to use a couple longer bolts to align the top ears of the transmission with the bell-housing. Then you can draw them together and, when the input shaft splines are mated with the clutch disk (also greased—my kit included some grease for this bit) just replace these longer bolts with the real bolts. After a bit of fiddling, adjustment of the jack, swearing and shaking things, the transmission slid right home.
Re-attach your drive shafts, re-mount the starter, wrap up the clutch linkage and give it a go. Mine shifted like a completely different car once it was done! No more grinding, easy to shift, quiet, and a much more comfortable clutch pedal. My wife will like that.
Oh, and don't forget to re-fill your transmission and transfer case with oil. That would be bad.