My 1976 Jeep CJ-5
Find me on JeepForum
Lighting Installation - Installing the Headlamp Relays
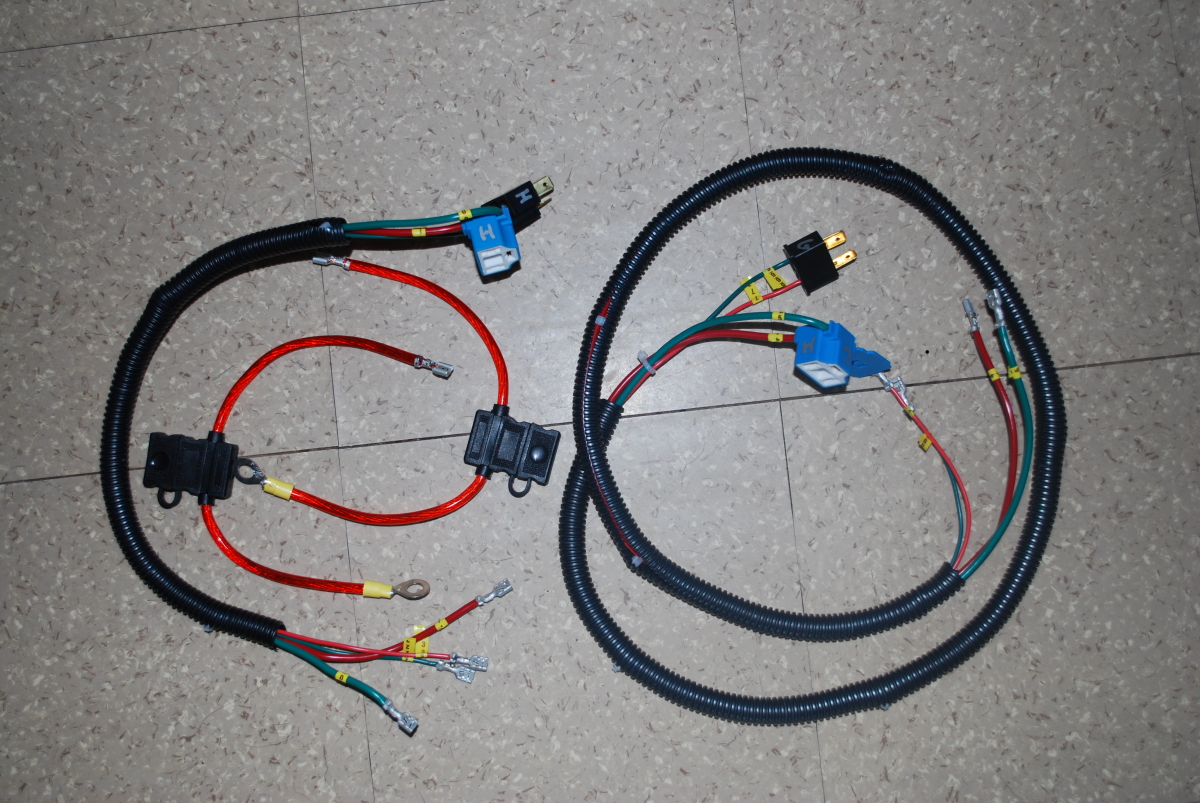
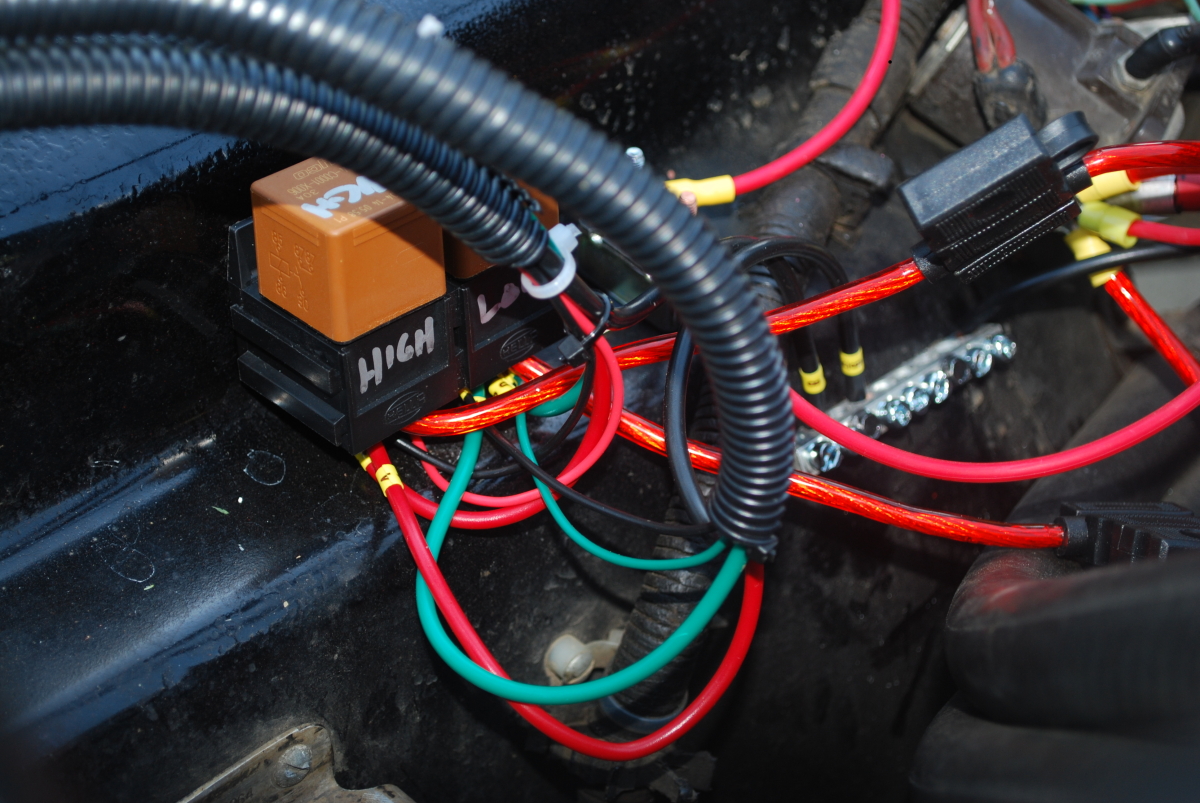
The next step was to install everything under the hood. I opted to locate the relays near the auxiliary fuse block on top of the right-hand wheel-well. I left about a half-inch of space beneath the relay mounting blocks to ensure adequate clearance for the wiring. Snaking the two harnesses through the grill assembly was simple enough - there was a conveniently large hole already there. Removing the old headlamps and pulling the wires through to attach to the new bulbs took about ten minutes per lamp. I made sure to use some wire ties to run the driver's-side harness alongside the existing (original) headlamp wiring harness, keeping it out of harm's way and essentially invisible from the front of the vehicle.
Everything snaked into place I proceeded to make all of the connections (negative battery cable disconnected of course).
Everything snaked into place I proceeded to make all of the connections (negative battery cable disconnected of course).
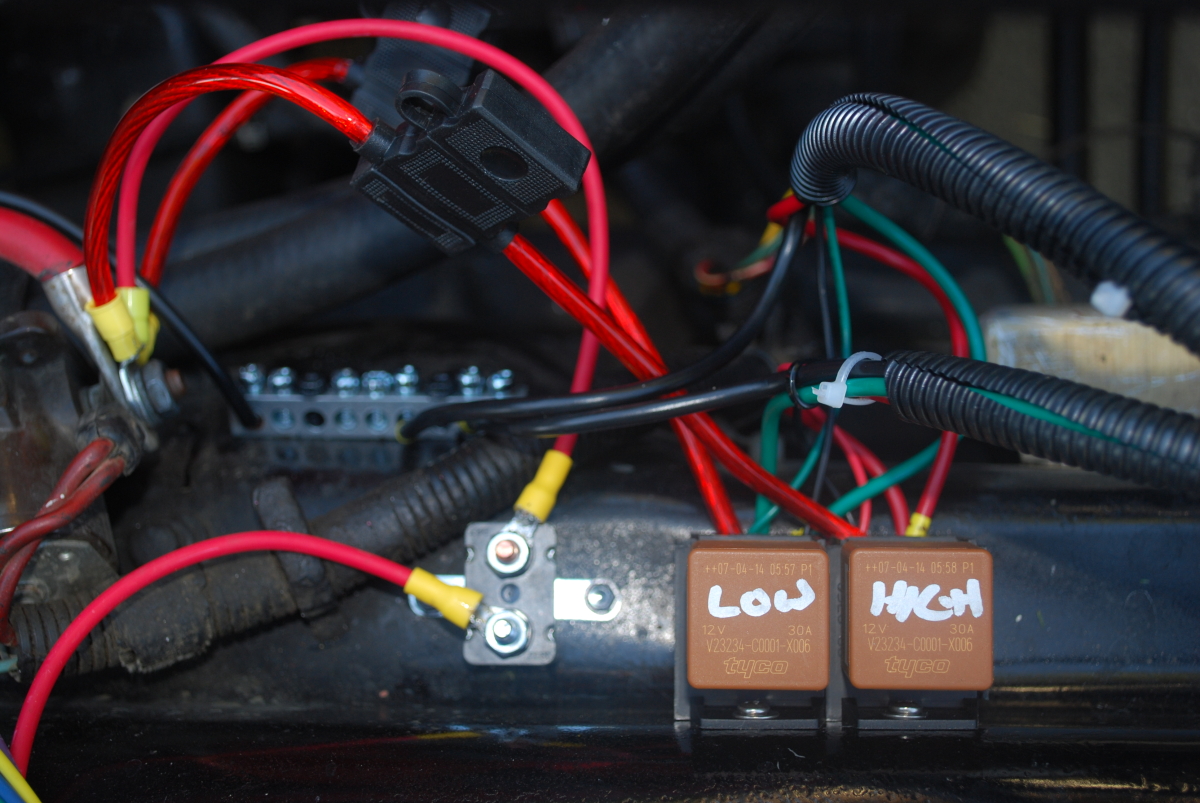
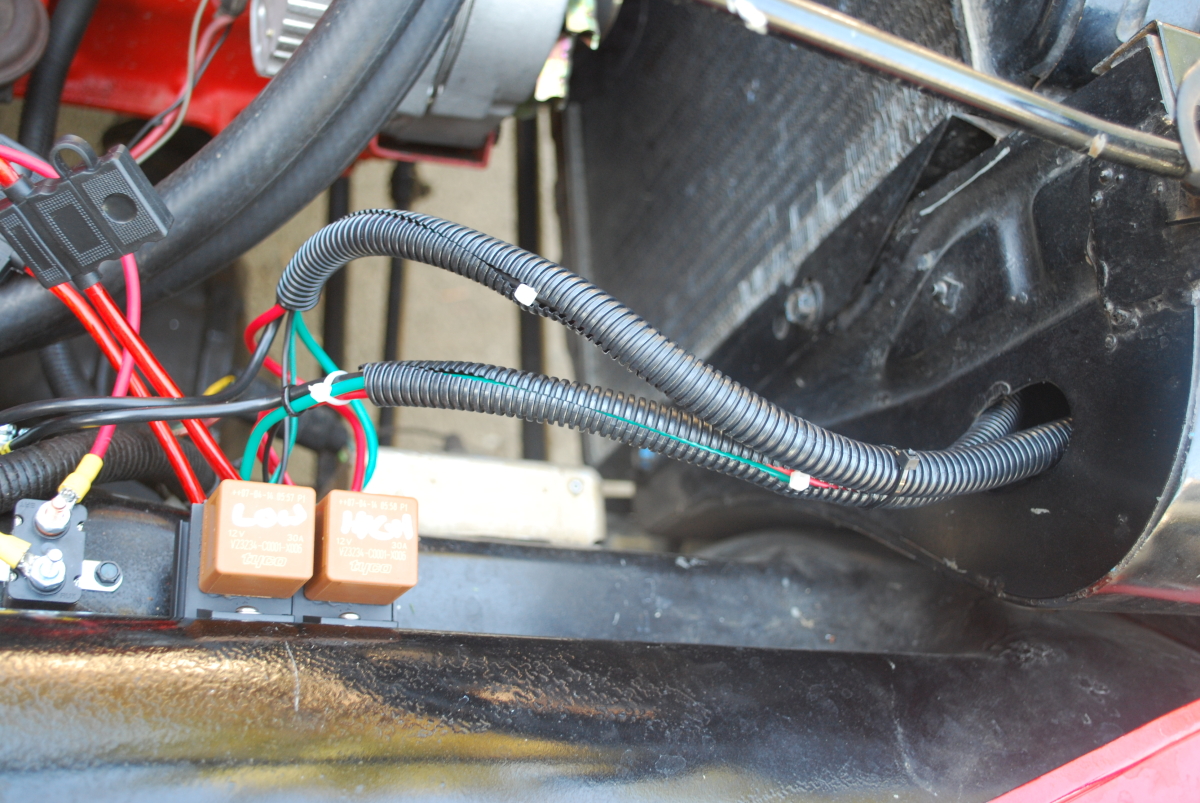
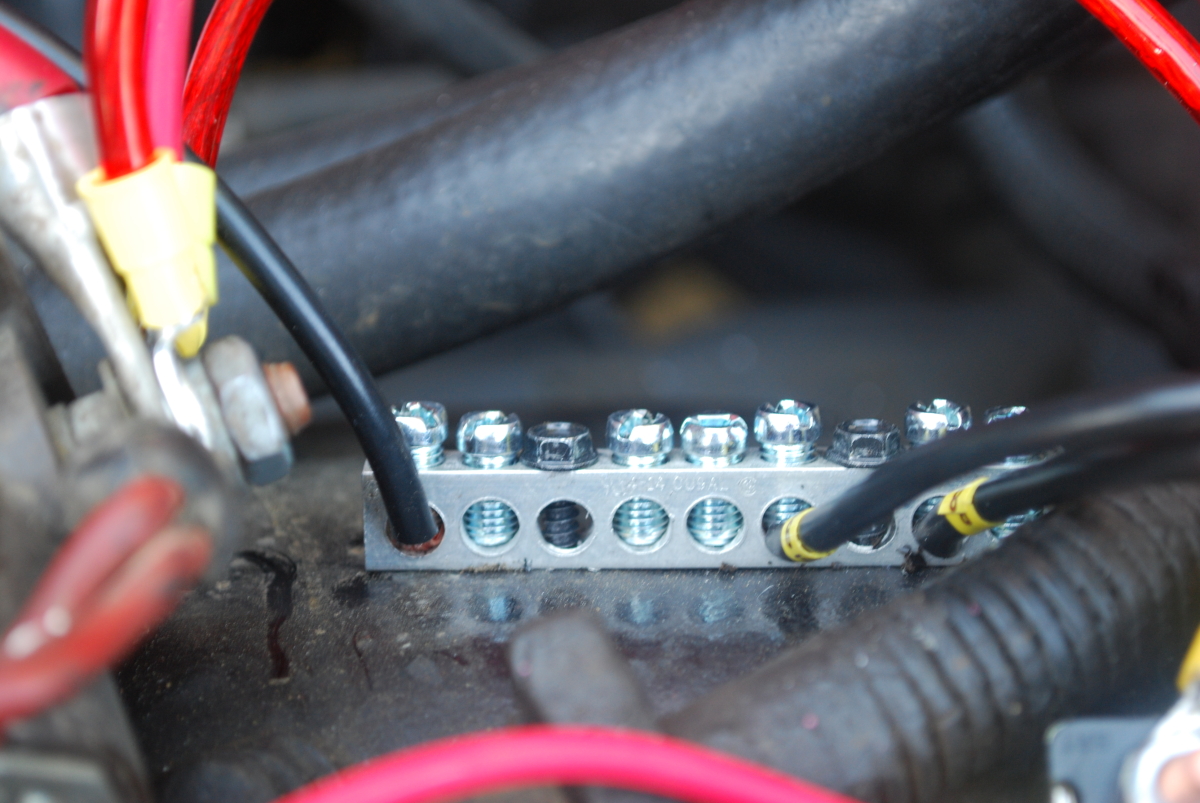
The second deviation from my original wiring diagram involved installing a ground bus that can be used by both the headlamp setup and also the auxiliary fus block (and anything else I throw under the hood). I simply attached a ground bar from a household circuit breaker box and ran a 10 gauge wire from one end directly to the negative terminal on the battery. Other ground wires are simply attached to the bar. Here's a close-up view of the ground bar and another angle on the relay setup and its connection to the ground bar.
Once all the wiring was in place the last order of business was to reconnect the battery and fire things up! Everything worked exactly as expected - and the headlamps are much brighter than the old ones. Last thing to do is re-aim the headlamps and this project is complete!